
My design wall to date consisted of cotton batting taped to the wall behind my sewing table. It worked all right in a pinch, but inevitably I would return to it the following morning and it would be laying in a heap on the floor – along with all my nicely laid out blocks L I have spent countless hours re-taping and re-laying out quilt tops and I finally had enough!
After scouring Pinterest for a DIY design wall for quilters, I finally got around to putting one together last weekend!
Most DIYs seem to consist of 1” thick Styrofoam insulation boards with either cotton batting or flannel wrapped around it. Some were hung on the wall, even with a cut-out for an outlet, others were left free standing and one even went so far as to make it reversible!

This post contains affiliate links, meaning, at no additional cost to you, if you click through and make a purchase, I may receive a commission.
Here’s what I did:
I picked up a queen flannel sheet set at Sears (*this gray set is similar, since Sears is no longer open). It was already on sale with an additional 30% off. Yay!! I love a good bargain!

I then stopped at my local Reno Depot and picked up three 1½” thick Styrofoam insulation boards. These were the cheapest I could find at $7.59 a pop. Thankfully I had the hubs with me as driving home with those puppies would have been impossible on my own – they completed blinded you on one side. Definitely not the safest. It is the first time I wished we had a pick-up truck!

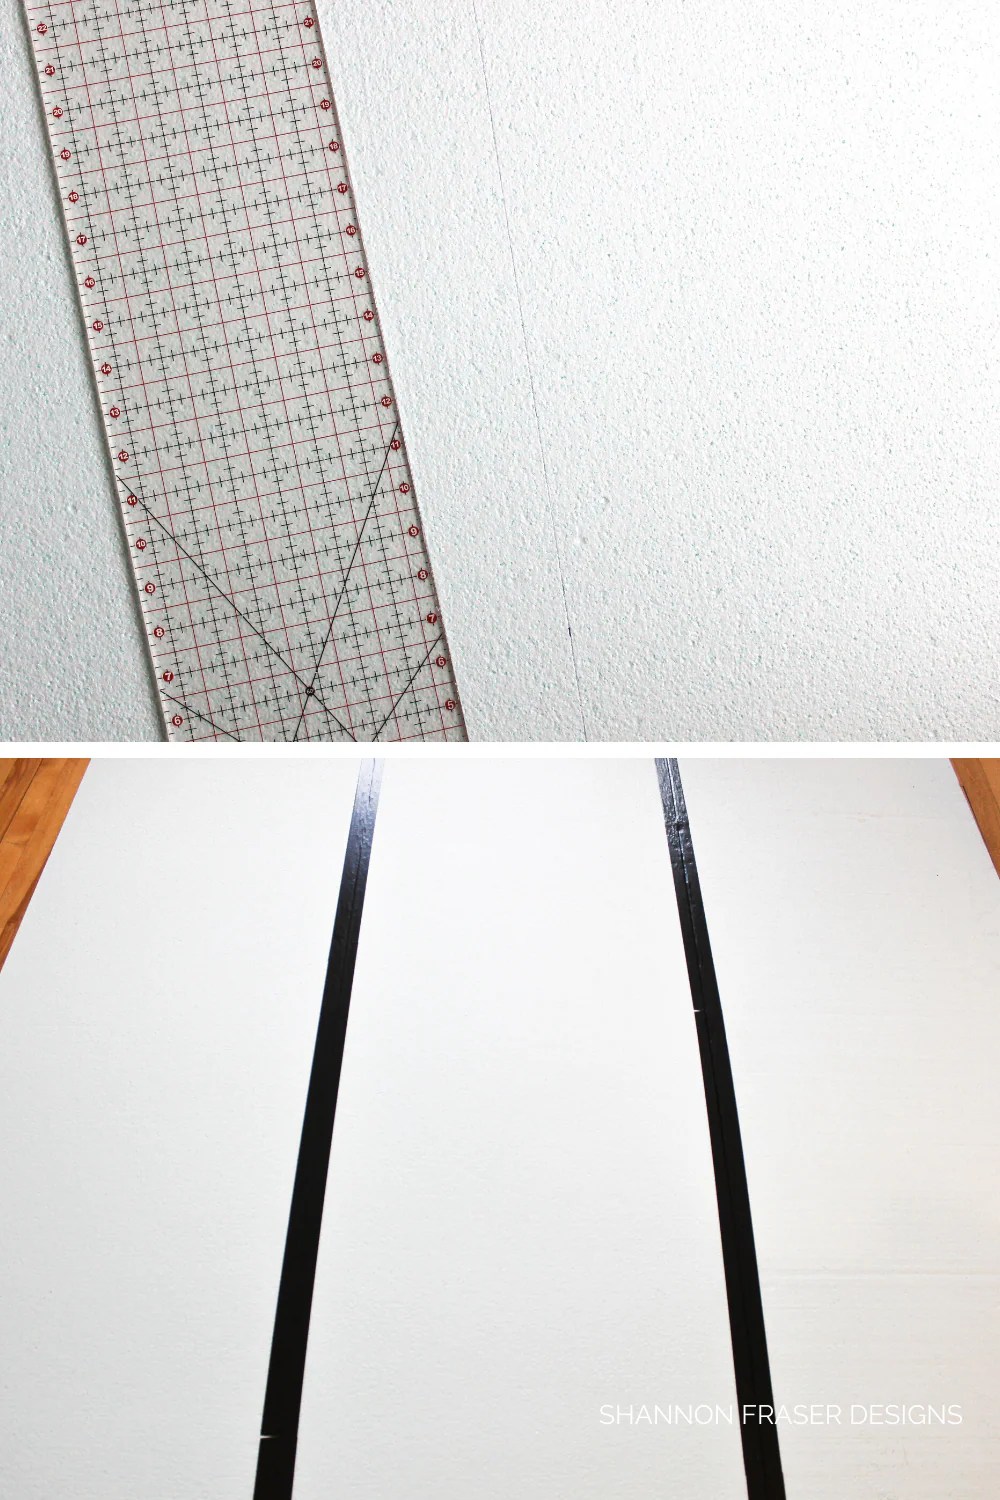
While my sheets were washing and drying, I measured and cut my Styrofoam boards down to 80” long as I wanted to be sure I could get them through a doorway if I needed to change the location. Plus I wanted to be sure my sheet fit! If you do cut your boards down, I highly recommend having a vacuum at the ready – there were little pieces of Styrofoam EVERYWHERE!
I then taped them all together using *Black Gorilla tape. You can certainly tackle this on your own, but it went so much quicker with two people.
At that point, I was actually considering making a sleeve so that my design wall would be reversible, but after what felt like an eternity on my hands and knees trying to smooth out the fabric so I could cut it down to my specified measurements, I gave up. Every time I got one end smooth, I looked to the other end and it had bunched in the middle. So I abandoned that idea and just decided to go with a one-sided design. Once I made that decision, things came together really quickly.
I laid my top sheet with the right side facing down and laid my taped together Styrofoam wall over top. Starting in the centre of each side, I pulled the fabric taught and taped into place. I continued this until all sides were taped up. It doesn’t have to look pretty, it just needs to stay in place.
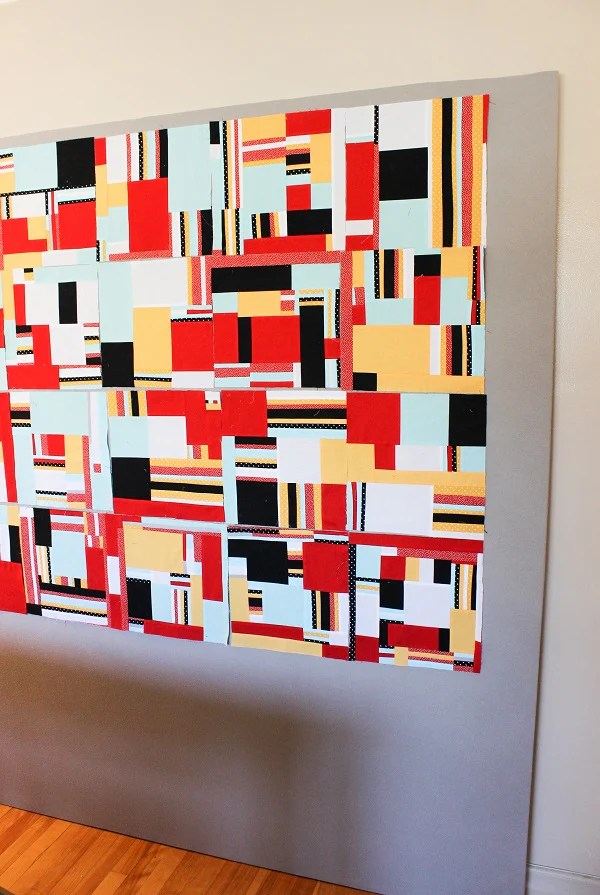
Then it was just a matter of flipping it over and resting it against the wall! Easy peasy! Here she is in all her glory with my charity quilt blocks already laid out.
The final design wall measures 80” by 72 ¾”.

MATERIALS
The materials I used were:
- 1 top sheet from a set of queen flannel sheets
- 3 Styrofoam insulation boards 1½” thick, cut down to 80″ long
- *Exacto Knife
- *Black Gorilla Tape and lots of it!
- Measuring tape
- *Ruler
- Pen
- *Post it Notes
The reason I chose grey was twofold:
- 1 it was the only solid colour I found on sale, and
- 2 apparently grey is a true neutral, so I went with it!
So far I’m loving it and would definitely recommend this project for any avid sewer or quilter.
xo
Shannon
Never miss a post – sign up for the weekly newsletter.
This post uses affiliate links. For more info, visit the FAQ page.

Looks great! I've had this on my To Do list FOREVER! You make it sound so easy I think I might have to give it a try!
You should totally do it, Izzy! Honestly, the hardest part was getting the insolation boards into the car! The rest was just a matter of taping and wrapping. And it is SUPER practical 🙂
Thank you for such a genuine attitude and teaching your children such good morals. I grew up in a bilingual family and I knew what it's like not to be able to speak fluent English. He did a great job on the design wall. Once I get my renovation done I plan on making one
You absolutely should, Carmen! You will love how handy it is when piecing your quilts!
Will this not buckle in the centre in a few months without some sort of wooden frame behind it? When I used insulation for the same purpose, a contractor friend suggested attaching it to the wall to avoid buckling. There is a particular type of washer available (sorry I can’t recall the name) but it keeps screws from digging into the insulation boards.
I would have thought it would buckle too, but it’s been several years since I made mine, and it’s still resting against the wall with minimal buckling! If you’re concerned, you can absolutely reinforce it by attaching it to the wall!