
You’re off and cutting this week and has you diving into modern improv play featuring stripes!
It’s week 1 of the 30 Days of Improv QAL and you’ve already learned lots of tips on fabric selection and getting into the improv mindset. Now it’s time to choose your tool of choice and dive in and start cutting!
Today I’m sharing where my own modern improv play with stripes wound up!

The shape of the week: Stripes
I don’t know what it is about stripes that I love so much.
Maybe it’s:
- The graphic nature of those bold lines; or
- The ability to sneak in some uber skinny strips to draw the eye in; or
- The endless play they offer.
Whatever it is, I could work with stripes every day (and wear them too)!
Stripes are not a new shape to the 30 Days of Improv Quilt Along, and what’s exciting about that is you can see just how much variety and opportunity this little shape offers you in your improv compositions.
Take a peek at my previous stripe play in:
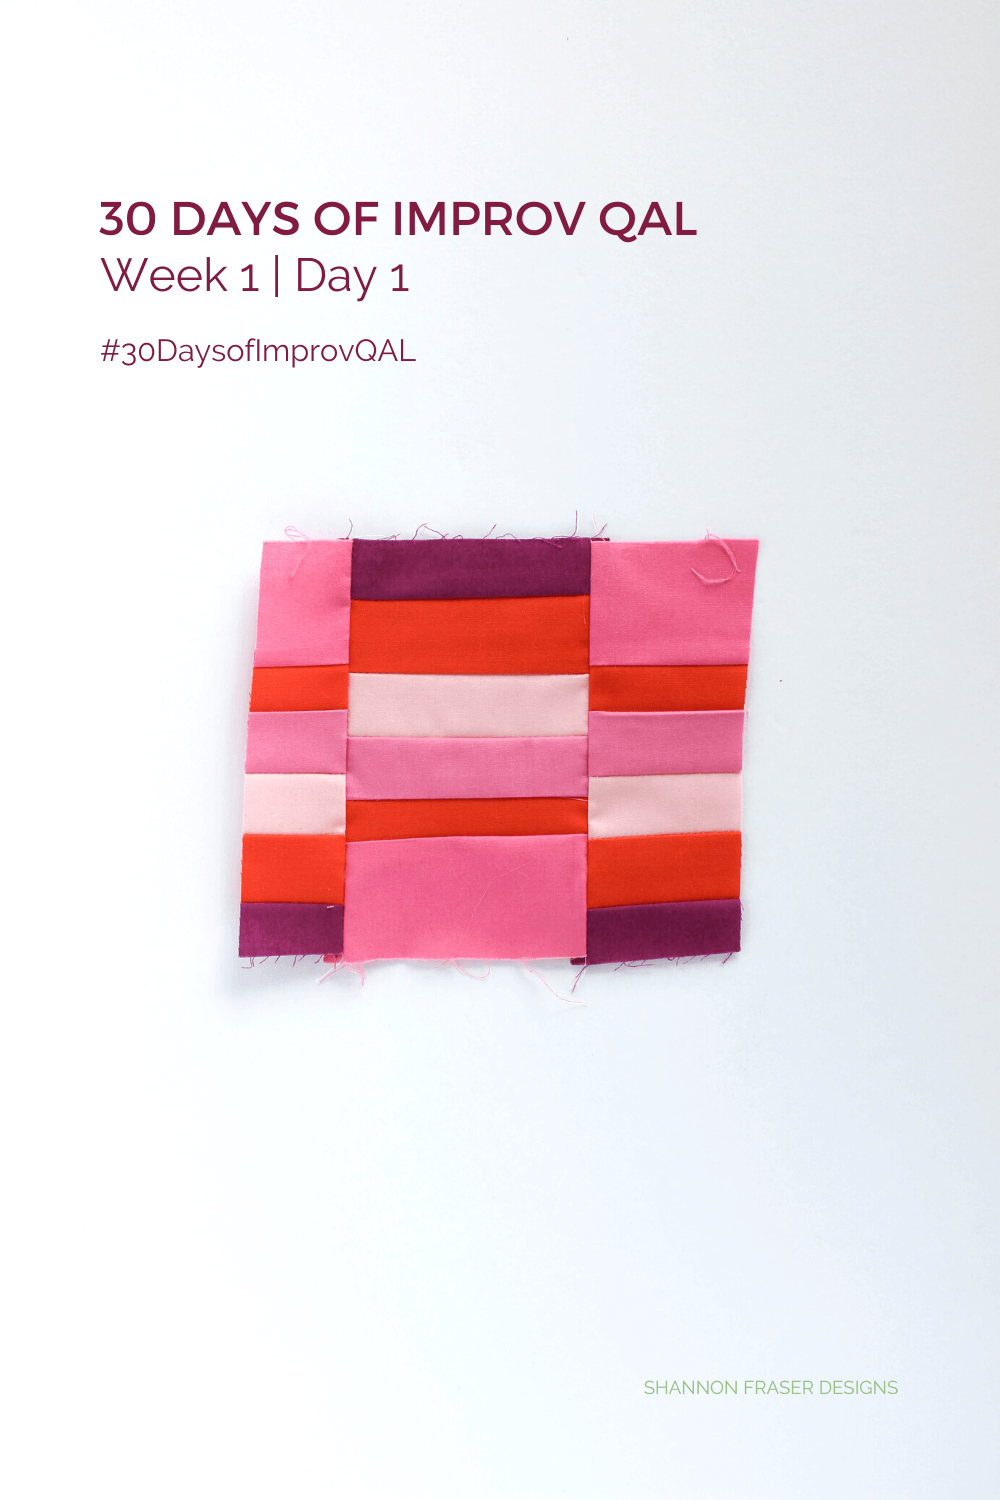
Day 1
I started things off nice and easy by simply joining some strips together.
Improv quilting doesn’t have to be complicated, often simple is best!
You can add more complexity to your composition by varying your strip widths and slicing your block up.
That’s what I did with my block on day 1 😊
Day 2
It was all about tiny piecing today!
You know my love for itty-bitty details, I can’t help but sneak them in 😉

Day 3
I went log cabin style!
I had a trimming leftover from a previous day that was calling to me. So that’s where I started my play. I got the urge to feature that piece and thought framing it with a log cabin piecing would be perfect.
Don’t think you can’t use traditional methods in a modern way in your improv exploration.
Here I varied the strip widths for a modern take.

Day 4
I brought out both tools today!
It was back to strip piecing and then slicing and dicing, but this time I worked both with freehand cutting and using a ruler.
With this one, I was curious about exploring repetition and how you can build on a repeated design.
To keep the interest in the composition, I opted to break the repetition in the center and added a bold purple stripe.
I think it keeps the viewer on their toes 😉

Day 5
Don’t throw out your trimmings! That’s where today’s improv play started, by being curious about this little peachy-pink fabric scrap.
The fact that I incorporate so many small pieces into my improv play means that I have very little waste. Which I know surprises a lot of quilters, as there’s this misconception that improv quilting wastes fabric. That hasn’t been the case for me, and maybe it’s about shifting how you approach your own improv exploration to challenge yourself to use up all of the pretty bits!
I share more about incorporating sustainability into your creative practice in these blog posts:
- 7 ways to incorporate sustainability in quilting
- Are you a fast or slow quilter? A discussion on sustainability
- How to get ready for the 30 Days of Improv QAL
- Finished Mini Quilt Collages from the 100 Day Project
- Myth busted: improv quilting wastes fabric


For more 30 Days of Improv QAL check out the following posts:

And just like that, Week 1 of the 30 Days of Improv QAL is done! Well done on your shape exploration. Take the time this weekend to recoup before we dive in again next week 😊
If you haven’t already, there’s still plenty of time to join the improv fun by signing up for the free 30 Days of Improv QAL. Sign up for the weekly newsletter so you don’t miss out on the next 30 Days of Improv QAL.
What’s your main takeaway from this week’s challenge? Share in the comments below!
xo,
Shannon
Never miss a post – sign up for the weekly newsletter.
This post uses affiliate links. For more info, visit the FAQ page.
