
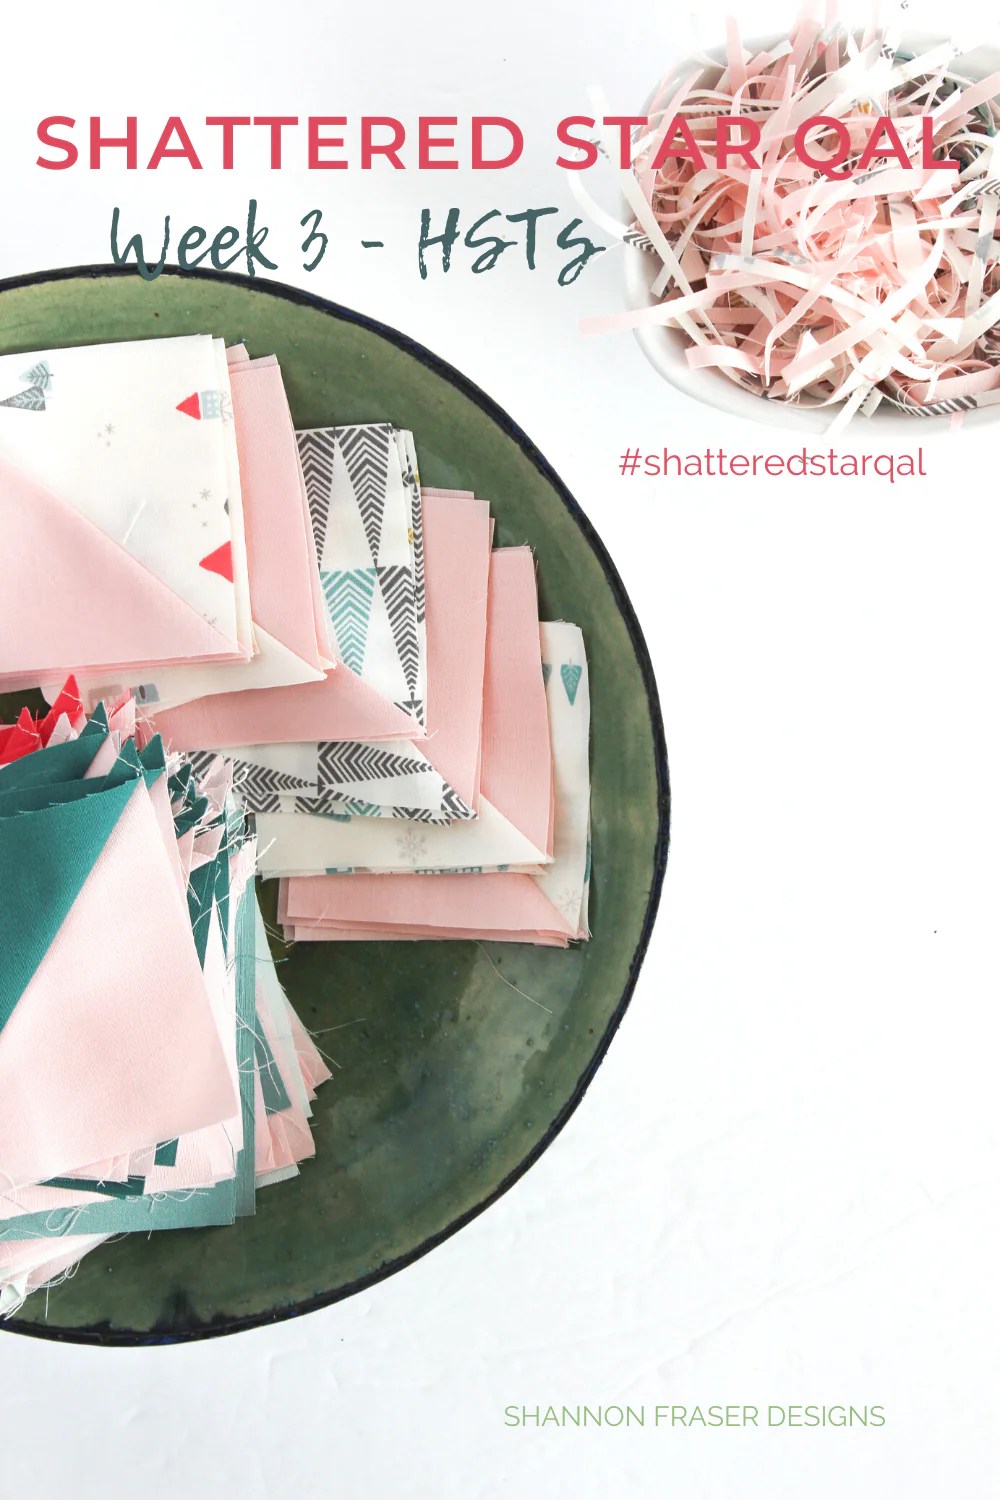
Welcome back to the Shattered Star Quilt Along!
We’re officially entering Week 3 of the QAL and that means sewing time!!
So far, you’ve:
- Checked out all the essential tools and notions you’ll need.
- Tackled picking your fabric and considered their colour values,
- Learned all the ins and outs of pressing them nice and flat; and
- Picked up tips on cutting them accurately.
Keep these lessons in mind, as these foundational quilting techniques will serve you well throughout the rest of the Shattered Star quilt journey!
The next step we need to tackle is making our half-square triangles (HSTs). My love for quilting started with HSTs, so it’s no surprise they sneak their way into my designs on the regular.
The Shattered Star quilt pattern uses the 8-at-a-time method to make quick work of creating the HSTs.
 *This post contains affiliate links, meaning, at no additional cost to you, if you click through and make a purchase, I may receive a commission.
WHAT YOU’LL NEED
Before you can start creating your HSTs, you’ll need a few basic tools and materials to get started, including:
- 2 squares of different coloured fabric of equal size. I’m using a combo of Little Town fabrics + *AGF PURE Solids in mine.
- *A marking tool – this is what I use (heads up there are some drawbacks), but a pencil or *Hera marker would work equally well.
- *Pins (optional) – but if you’re just starting out, pinning reduces shifting which leads to more accurate outcomes.
- Sewing machine – I sew on a *Juki TL-2010Q and use a 2.0 stitch length when piecing.
- *Thread for piecing – this is my go-to
- *Ruler
- *Rotary cutter
- *Cutting mat
- *Rotating cutting mat (for trimming) Read why I love this one here.
- *Iron
- *Ironing board or a wool mat – save 10% at The Felt Store (CDN & USA) with code: SHANNONFRASER10 (now until December 31, 2020)
- *Tailor’s clapper – this is optional but works great if you prefer working without steam.

8-AT-A-TIME HALF SQUARE TRIANGLES
The 8-at-a-time method is an amazing technique to have in your quilty arsenal – especially when you need to make a ton of HSTs and FAST.
Let’s dive in.

HOW TO STITCH YOUR HALF SQUARE TRIANGLES
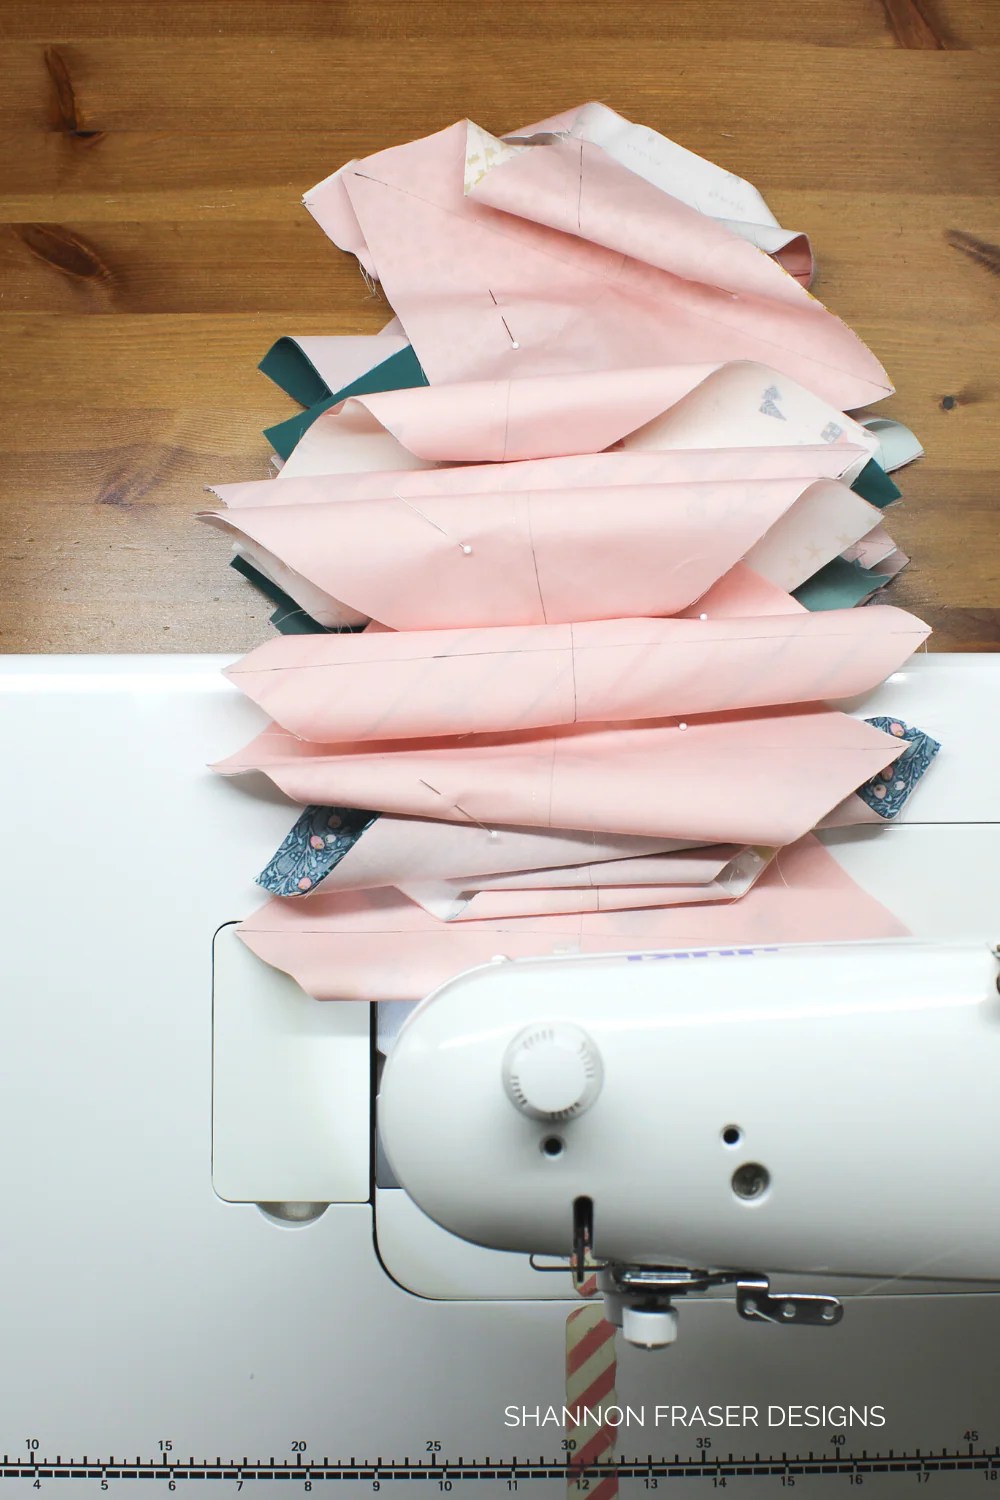
Start by marking diagonal lines from corner to corner on the back of one of your squares.
Place the squares right sides together (RST), making sure they’re lined up nicely.
Pin in place. This is optional, but it does help prevent the squares from shifting while you stitch. You can also opt to glue in place if you prefer working without pins. The larger my squares, the more I tend to pin.
Stitch a scant ¼” seam allowance (here are tips on how to get a scant ¼” SA) on either side of each drawn line, for a total of 4 stitched lines. If you’re making more than one set of 8-at-a-time HSTs, then you can totally chain piece them in batches (see the chain piecing tutorial for more). First stitch down one side on all of them, and then repeat on the remaining lines until all 4 lines have been stitched.
HOW TO CUT YOUR HALF SQUARE TRIANGLES
To cut your HSTs apart, start making 2 cuts down the center of the square. Without moving the block, cut along each of your diagonally drawn lines directly on your drawn lines.
This creates 8 HSTs.
HOW TO PRESS YOUR HALF SQUARE TRIANGLES
When it comes time to pressing your HSTs, I want you to remember to be gentle. You’re working with a lot of bias edges at this point and they like to s-t-r-e-t-c-h.
Don’t pull on your fabric.
You want to start by setting seams. Place your hot iron on top of your stitches. This will help your stitches “sink” into your fabric and help make them “one”.
Don’t iron your HSTs – you want to press them. Go back to Lesson 2 for all my top pressing tips!

I like to then finger press the seam to the side, before locking that seam in place with my hot iron. This approach helps reduce any pulling on the fibers.
The Shattered Star quilt pattern includes pressing directions to help your seams nest. You can always opt to press your seams open if you prefer having less bulky seams.
HOW TO SQUARE UP HALF SQUARE TRIANGLES
Your starting squares are purposely made a little larger to give you trimming wiggle room. The HSTs are the foundation of the pattern. Having them nice and square will help you piece them more easily and accurately.
There are several ways you can trim your HSTs.
TRIMMING HSTS USING A REGULAR RULER
I’ve already shared a tutorial on how to square up HSTs with an oversized ruler.
This is super handy if you don’t want to bring too many rulers and notions into your sewing space. I used the above technique for years and it works like a charm.

TRIMMING HSTS USING A SPECIALTY RULER
But since I make a lot of quilts with HSTs, I’ve slowly started to try other rulers and notions. Here’s what I currently can’t live without when it comes to trimming my half-square triangles:
Rulers – now there are lots of options out there with so many of my quilty friends raving about the *Bloc-Loc rulers. My hesitancy with those is that you have to buy one for each size you want to make. That’s great in theory, but where am I going to store all those rulers? Not to mention, that’s a lot of money to plunk down just on rulers.
So, what’s a space-challenged thrifty quilter to do? You grab *one of these! You’ve got lots of options for HSTs ranging in size from 1” to 6” and you can opt to either trim before or after pressing your seams. The former means you only have 2 cuts to make instead of 4 – wahoooo! I bought the ruler a little over a year ago now and I’m really loving it.
*Rotating cutting mat – now, this has taken me a while to find one that I absolutely love and that WORKS. Not all rotating mats rotate. Weird, I know. But, sadly, also very true. I did a lot of research before committing to this one and, so far, I don’t have a single complaint. Worth every penny! Read my full review here.
*Rotary blade – a NEW one – I can’t stress the importance of having a fresh blade when trimming your HSTs. First, it will take so much pressure off your hand if the blade is nice and sharp. Moreover, it will slice through nice and easily the first time, limiting the need for extra cuts and avoids any fraying.

VIDEO TUTORIAL
Sometimes it helps to see things in action! I’ve pulled together a quick video walking you through the 8-at-a-time method outlined above, plus I show you how to trim them up for perfect HSTs every single time! Check it out:
Voila – you’ve now created 8 pristine half-square triangles!
TOP TIPS FOR HST SUCCESS
I’ve made a lot of HSTs over the years and here are my top tips for you:
- Take your time! Your patience will be paid off with the cutest and sharpest looking HSTs this quilty world has seen 😉
- Take breaks! Trimming can put a lot of strain on your hand, arm, shoulder, and back – the latter is especially true if you’re not at a counter-height cutting table. I like to break my HST trimming up into a few sessions. This helps keep the strain and boredom at bay!
- Be gentle! Your cute half-square triangles are prone to stretching. So, handle it with care.

QUILT PATTERNS FEATURING HALF-SQUARE TRIANGLES
As I mentioned earlier, I love HSTs and I sneak them into a lot of my quilt patterns. If you’re looking to test drive your new HST skills, then check out these fun modern quilt patterns.

Pictured above is the Double Windmill quilt pattern.
GIVEAWAY
This week’s giveaway is sponsored by Oliso and The Felt Store (CDN & USA).
SPONSOR 1 – OLISO
Oliso irons have been on my list of irons to test out for quite a while. I mean they came out with the brilliant concept of irons with automatic lifting feet – so genius! Which is why I was thrilled when they agreed to be a sponsor. I’ve been playing around with their new *Mini Project Irons and for such a tiny thing they sure can heat up! The good news is you have a chance to win your very own in the new Turquoise colour!

SPONSOR 2 – THE FELT STORE
You won’t get very far in your ironing session without a pressing surface. The Felt Store to the rescue! I reached out to them as I kept hearing great things about wool pressing mats from my quilty friends and found this locally sourced and Canadian made 17” x 17” version!

To enter the giveaway, you must:
- Be a Shattered Star QAL newsletter subscriber (sign up here).
- Be following @olisohome, @the_felt_store and @shannonfraserdesigns on Instagram
- Post a photo on Instagram of your Shattered Star HSTs between October 26, 2020 and November 1, 2020 at 11:59pm.
- Instagram account must be public.
- Tag @olisohome, @the_felt_store and @shannonfraserdesigns
- Include the hashtags #shatteredstarquilt #shatteredstarqal
Week 3 giveaway is open to USA and CDN residents only. Sorry my international friends.

Now that you’re a HST lover like me, I’d love to know which tip was the most helpful to you. Share in the comments below 😊
Happy quilting!
xo
Shannon
Never miss a post – sign up for the weekly newsletter.
This post uses affiliate links. For more info, visit the FAQ page.

I noticed that you didn’t include the chart for the size of the starting square to make 8-at-a-time HSTs. Is there such a chart available?
Great question, Sheila! I have those charts for the 2 and 4-at-a-time methods, but haven’t created one for the 8-at-a-time method. I’ll try and add that one!