
We’ve made it over the half-way mark in the Mouse Trap BOM and as my machine is currently busy machine quilting the Spinning Snowflakes Quilt, holding up my Flag block progress, I thought I’d pop in and give an update on how my Mouse Trap quilt blocks are coming along and share some tips on how to stay organized during the block of the month quilt along 😉
Remember when I said this quilt along is intended to be taken nice and slow, there was a method to my madness – ha! A quilt is not typically something that is finished in a day. There are certainly some simpler designs out there where this could be accomplished, but the Mouse Trap Quilt requires more time and attention to detail to bring it to life.
Since life is busy, I like knowing that I don’t have to rush my quilty life. So, whether you’re right on schedule, or playing catch up, or just hearing of the Mouse Trap BOM for the first time, wherever you are at is exactly where you should be 😊If you want to come join the quilty challenge, then I encourage you to grab your Mouse Trap Quilt Pattern and dive right in!
In the meantime, here’s how my Mouse Trap BOM 2025 quilt blocks are coming along, and how I’m staying organized!
The Mouse Trap BOM Quilt Pattern is available for instant download!

This post contains affiliate links, meaning, at no additional cost to you, if you click through and make a purchase, I may receive a commission.
Mouse Trap BOM 2025 Block Progress
Block 1
The QAL kicked off with the Rainbow block. What’s not to love about rainbows, right?!
This block may seem intimidating since it features quarter circles (aka Drunkard’s path blocks), but these curves are a great way to ease your way into piecing curves.
Once you get the hang of them, they’re actually quite fun to stitch. Plus, the organic feel and movement they add to your quilt composition can’t be beat!
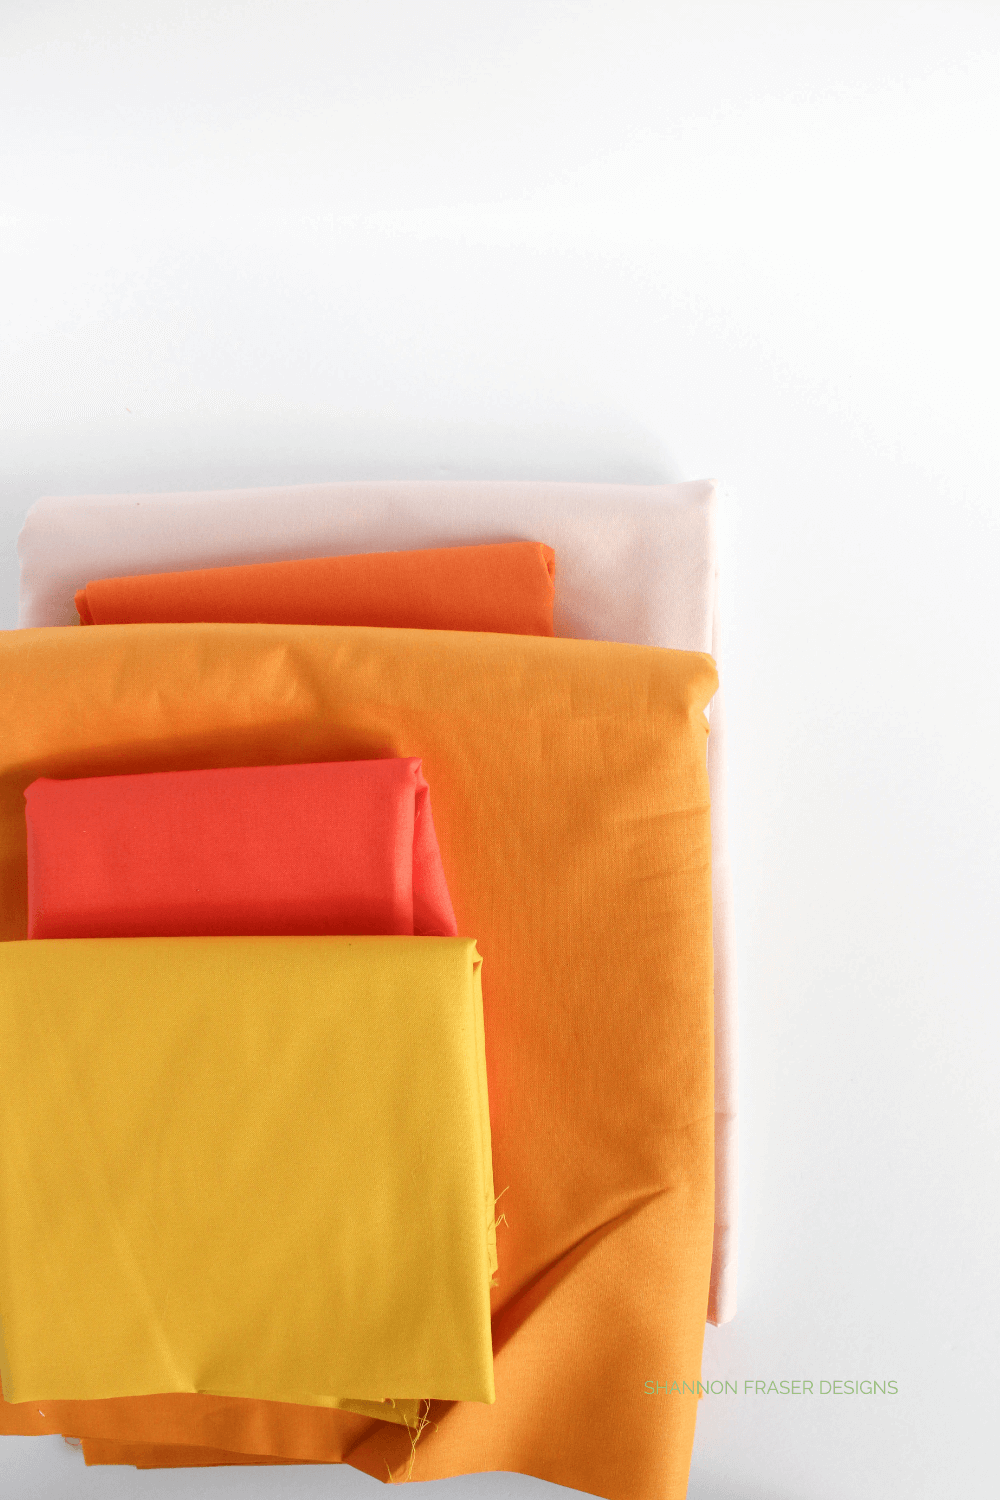
Since this was the first block to be pieced together, it was fun to see my fabric colours start playing together.

Block 2
It took me forever to wrap my head around piecing and trimming half-rectangle triangles, which is why I’m so excited for you to give them a go in the Triangle Point quilt block. This one not only gives you the chance to have some fun colour play, but the block design also adds fun directionality to your quilt composition. I like to think of them as markers giving the eye an indication of where to head next 😉

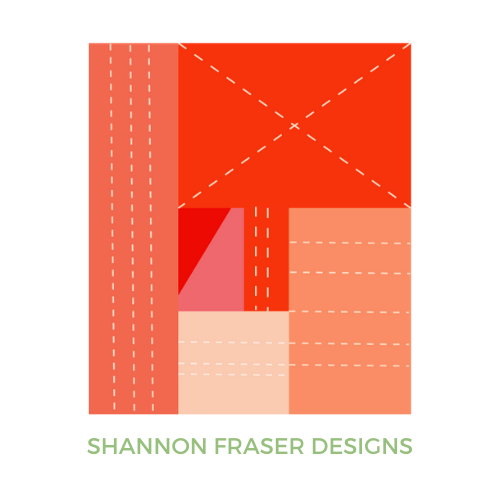
Block 3
The Sticks quilt block is a study in understated simplicity. You know my love for angles, and the Sticks block gives those vibes in spades.
Don’t let the simplicity of the block deceive you; this cutie will challenge your piecing accuracy! But it’s quite a sense of accomplishment when you see those lines come together perfectly!

Block 4
Sometimes it’s nice to revisit the basics, and that’s exactly what the Mosaic quilt block does. It features traditional piecing and is reminiscent of mosaic tiles seen in Italy and Spain, the inspiration behind the design 😉. She’s a quick and easy one to piece together.

Block 5
The Apex quilt block ups the quilty stakes by challenging you with piecing together a composed triangle. This means you need your pieces to line up perfectly in order to preserve your points.
There are placement tips in the Apex quilt block pattern to help you achieve quilty success!

Block 6
We’re back to piecing curves with the release of the Half Moons quilt block. This one features half circles, which is more of a challenge to piece together compared to the quarter circles. This means that the quilty challenge just went up a notch 😉
There are a couple of different layouts for you to choose from in your quilt composition. The good news is that the curves are pieced the exact same way; it’s just the quilt block layout that changes. This adds versatility and dimension to your quilty play!

How to stay organized during a year-long quilt-along
A year is a long time to commit to a project. On the one hand, it’s nice knowing that you have plenty of time to stitch up each of your quilt blocks. On the other hand, it can feel a little confusing and chaotic if you don’t have a quilty system.
To help with the latter, I thought it might be helpful to see how I’m staying on top of all the moving parts 😊
Cutting Approach
There’re two quilty personalities out there, the one’s who like to cut out the entire quilt project right out of the gate, while others prefer to tackle it block by block. I always like to say that there’s no right or wrong way in quilting, just the one that feels best to you.
I tend to cut everything ahead of time.
Why?
Well, once I’m in a task, I like to see it through so that I know that step is complete. I don’t like to leave things hanging, as I’ve found that it confuses me when I come back to it. Where exactly did I leave off? Ha!
It usually takes me several minutes (or more!) to get back into the swing of things and remember what I still need to tackle.
Plus, I love knowing that when a new Mouse Trap quilt block is released, my pieces are ready to go and I just need to sit down for some stitching fun.
Quilt Block Labels & Storage Bins
You might be thinking, “Um, Shannon, how do you keep track of all these cut pieces?”
Great question!
That’s where quilt block labels (included in the Mouse Trap Quilt Pattern) and these clips come into play 😉
I tend to work systematically and cut one fabric colour at a time. This means that I can follow the cutting chart and fabric cutting diagrams and use the ‘Track Your Progress’ check boxes in the quilt pattern to tick off the pieces as I cut them out.
This ensures that:
- I maximize my fabric
- I know exactly which pieces have been cut
- I increase the efficiency of my cutting (i.e., I don’t have to repress my fabric)

Tip – once I have all my fabric cut, I then take a couple of minutes to group the pieces for each block. I pop a larger clip to keep everything together so that I’m not dealing with a bunch of loose and random pieces.
I can’t tell you how effective this method has been.
It ensures that:
- I don’t have to second-guess myself
- I know exactly where everything is
- If I make a cutting mistake, my extra yardage and scraps are all in this same box, so I can easily fix my mistake.


Storage
The next challenge in staying organized with a block of the month quilt along is, where do you store all these cut pieces that are waiting for future blocks to be released?
That’s where these nifty storage bins come in handy!
You don’t need these exact ones (these are similar). I happened to find them on sale a while ago while I was working on the Little Forest BOM and have been using them to stay organized ever since.
The point is to find one spot where you can store all your fabric, trimmings, and cut pieces so that everything’s corralled in one central area.
Other storage solution ideas to consider are:
- A drawer
- A box
- A tray
- A plate
- A shelf
The nice thing about these boxes is that you can stack them. So, I’ve done just that 😉 I have a couple stored under my ironing board, and I simply pull it out whenever I’m about to tackle a new quilt block.


What about quilt block storage
I could technically store my completed Mouse Trap quilt blocks in the same bin (at the bottom so they don’t get creased), but I prefer to hang them. Nothing more complex than pant hangers to keep my blocks visible and wrinkle-free!


Next Steps
Since I cut my entire Mouse Trap quilt out at the beginning of the QAL, I know the Flag block will be an easy one to stitch up, which means I still have plenty of time to accomplish that before the next block is released on August 15, 2025.
As soon as you get your Mouse Trap Quilt Pattern, you’ll automatically receive the Welcome Package, which includes all of the fabric requirements and cutting instructions for all 7 different quilt layouts, plus you’ll also receive every quilt block pattern that’s been released to date. Which means you can dive right in and start piecing your Mouse Trap quilt blocks 😉
For more Mouse Trap quilt inspiration, be sure to check out:
If you haven’t already, be sure to sign up for the Mouse Trap BOM Newsletter so you don’t miss any of the quilt-along details 😊 For added help, take the optional Mouse Trap Course to see how each of the quilt blocks is made!
Happy organized stitching!
xo
Shannon
Never miss a post – sign up for the weekly newsletter.
This post uses affiliate links. For more info, visit the FAQ page.
Leave a Reply